
What You Need
- Cotton swabs
- Isopropyl alcohol (rubbing alcohol)
- Needle-nose pliers or forceps (for tailcap retaining ring, if needed)
Cleaning the Contact Points
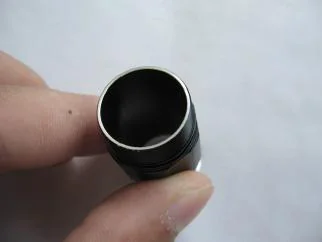
Step 1 — Clean the body tube interior
Unscrew the head and tailcap, then use an alcohol-soaked cotton swab to clean the inside of the body tube. Focus on the threaded areas and the flat contact surfaces at each end.
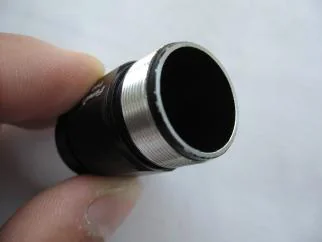
Step 2 — Clean the body tube threads
Wipe the external threads on both ends of the body tube. Remove any dirt, grit, or old lubricant that has accumulated in the thread grooves.
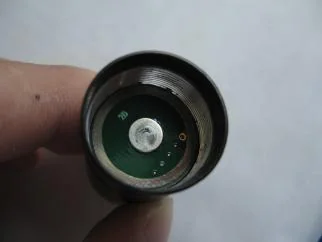
Step 3 — Clean the head interior
Swab the inside of the flashlight head where it contacts the body tube. Clean around the threads and the central contact point that connects to the battery.
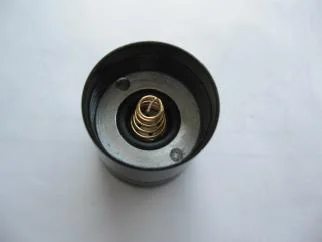
Step 4 — Clean the tailcap spring
Clean the tailcap spring and the surrounding contact area. The spring must make solid contact with the battery to complete the circuit.
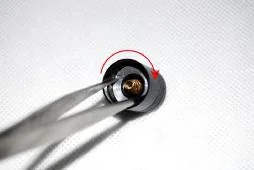
Step 5 — Tighten the tailcap retaining ring
If the tailcap retaining ring has loosened, use needle-nose pliers or forceps inserted into the two holes to tighten it clockwise. A loose retaining ring can cause intermittent contact and flickering.
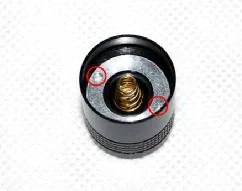
Step 6 — Identify the retaining ring holes
The two small holes on the tailcap face are where you insert the tips of your forceps or pliers. Turn clockwise to tighten.
Tips
- After cleaning, apply a thin layer of silicone lubricant to the O-rings and threads before reassembling.
- Allow all parts to dry completely before putting the flashlight back together.
- See the preventive maintenance schedule for how often to lubricate O-rings, clean contacts, and check the tailcap retaining ring.